From Zero to Live in Minutes – Setting Up Your First OSITE Website
Getting a website online shouldn’t feel like building a rocket.
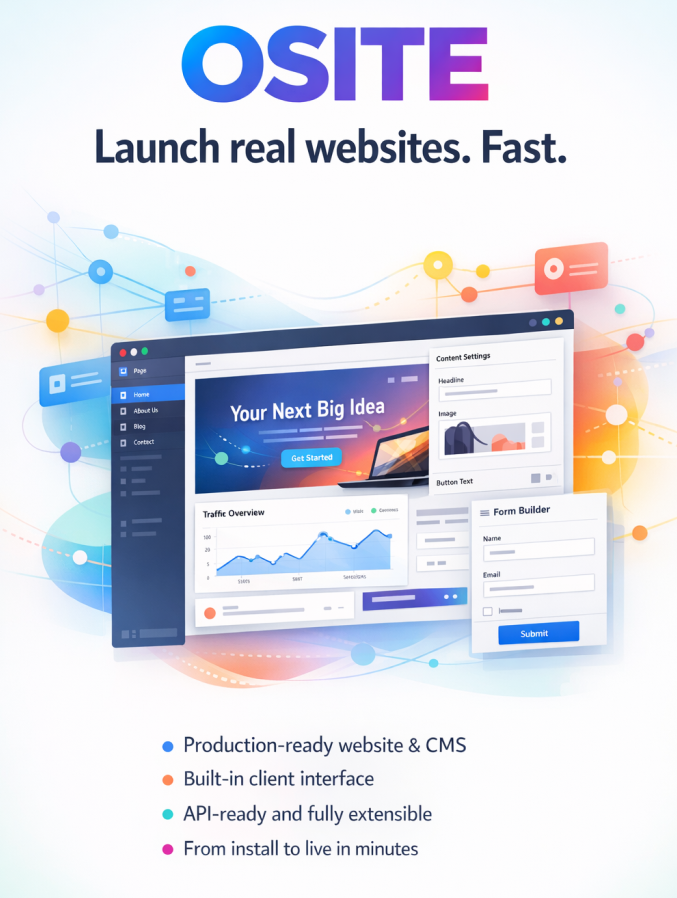
OSITE is built for speed, clarity, and confidence. Whether you’re a founder, developer, freelancer, or agency, OSITE lets you go from “nothing” to a working website—connected to Omnistack and ready for automation—in minutes.
This guide walks you through your first OSITE setup step by step.
Step 1: Uploading OSITE to Your Server
OSITE runs on most standard hosting setups—shared hosting, VPS, or cloud servers.
What You Need
-
A server with PHP support
-
FTP or File Manager access
-
Your OSITE package
How to Upload
-
Extract the OSITE files on your computer.
-
Upload all files to your server’s root directory:
-
public_html -
/var/www/html -
or your chosen web root
-
-
Make sure these folders are writable:
-
/storage -
/cache -
/logs
-
Open your domain in a browser.
If everything is correct, OSITE will show its welcome screen or setup flow.
You’re already halfway there.
Step 2: Core Settings Explained
OSITE works out of the box, but a few basic settings make it yours.
Site Name
This controls your branding across the system:
-
Browser title
-
Dashboard name
-
System messages and emails
Example:
My Business OSITE
Environment Mode
Choose how OSITE behaves:
-
development– shows detailed errors for testing -
production– hides errors and improves security for live sites
Always switch to production when going live.
API Keys
OSITE connects to Omnistack and AI features using API keys.
You’ll typically add:
-
Omnistack API key
-
AI/Automation key (if enabled)
These keys allow OSITE to:
-
Talk to Omnistack services
-
Trigger workflows
-
Use AI agents and automation
Without keys, OSITE still loads—but without its real power.
Step 3: Connecting OSITE to Omnistack
Omnistack is the engine that turns OSITE from a website into a system.
What This Connection Enables
-
AI agents
-
Smart workflows
-
Automation triggers
-
Integrated forms, emails, and actions
How to Connect
-
Go to OSITE Settings → Integrations
-
Paste your Omnistack API key
-
Click Test Connection
-
If successful, OSITE confirms the link
Now your site can think, act, and automate.
Step 4: Understanding the Folder Structure
You don’t need to be a developer—but knowing the basics helps.
Typical OSITE structure:
/app → core logic /public → public web files /storage → uploads, cache, logs /themes → site designs /plugins → extra features /config → system settings
What You’ll Use Most
-
/themes– change how your site looks -
/plugins– add new features -
/storage/uploads– user files
Everything else mostly runs in the background.
Step 5: Your First Successful Load
This is the moment that matters.
-
Visit your domain
-
You should see:
-
OSITE homepage, or
-
Setup wizard, or
-
Default theme
-
Try:
-
Creating your first page
-
Changing the theme
-
Editing the site name
If it loads without errors—you’re live.
You just launched a smart website.
Common Mistakes (And Easy Fixes)
White Screen or Error Page
-
Check folder permissions
-
Switch environment to
developmentto see real errors
API Not Connecting
-
Re-copy your API key
-
Confirm Omnistack is active
-
Check server internet access
Pages Not Showing
-
Clear OSITE cache
-
Re-save page settings
-
Refresh permalinks
Upload Fails
-
Increase server upload limits
-
Check
/storagepermissions
Most issues are setup-related—and usually fixed in minutes.
When to Use OSITE vs Pure API
OSITE and the raw API serve different builders.
Use OSITE When:
-
You want fast setup
-
You need UI + backend together
-
You’re building for clients
-
You want automation without heavy coding
Use Pure API When:
-
You’re building custom applications
-
You have your own frontend
-
You need full low-level control
Think of it like this:
-
OSITE = Ready-to-use engine with dashboard
-
API = Raw power for custom builders
Many teams start with OSITE—and add pure API later as they grow.
You’re Live—Now Build
You didn’t just upload files.
You launched a system.
With OSITE, you now have:
-
A website
-
A control panel
-
A connection to Omnistack
-
A base for automation
From here, you can build:
-
Smart forms
-
Client portals
-
AI agents
-
Automated workflows
And each one is only a few clicks away.
Your website isn’t just online.
It’s working.